This is a picture of the opened card showing the front and back sides of the card. Let's take a look at the inside...
Here's a closer look at the individual sections...
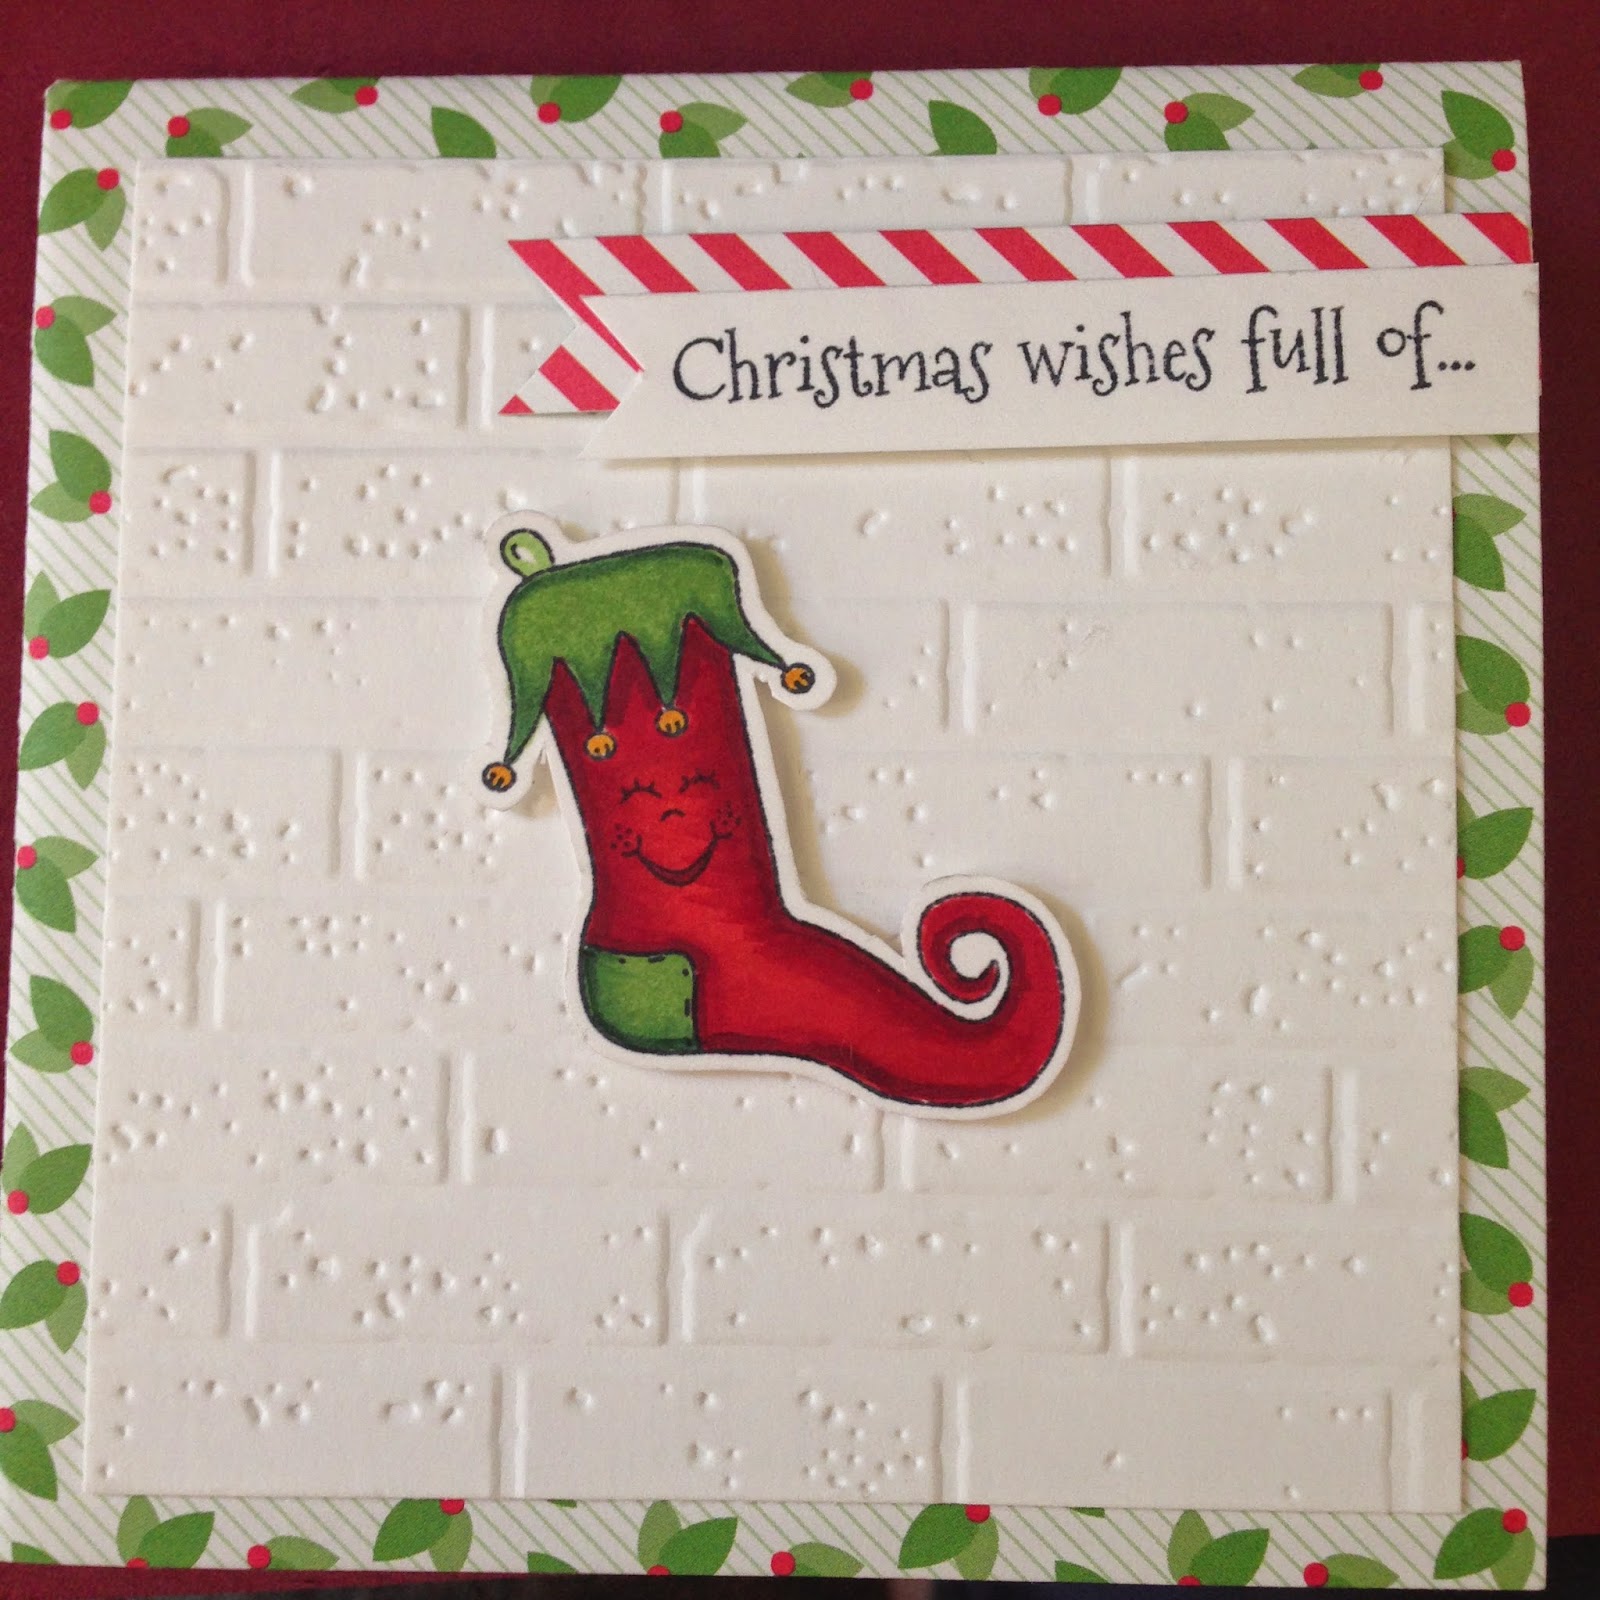
Here's a look at the front when folded...
Here is a look at the card as it is folding...
Pretty fun card, right?
Want to know how to make one? Keep reading...
Materials
- Lawn Fawn Double Sided Patterned Card Stock
- Neenah's White Card Stock
- Memento Dew Drop Ink Pads
- Copic Markers and Spica Glitter Pens
- Sakura White and Glaze Pens
- Spiced Sunshine Stamps (www.SpicedSunshineStamps.com)
- Bricks Embossing Folder
- The Robin's Nest Dew Drops Clear
- Rhinestones
- Fiskars Paper Trimmer
- EK Success Punch
- Scotch Double Sided Foam Adhesive
- Tombo Glue
Instructions
Cut a 12x12" Lawn Fawn double printed card stock down to 8x8" for card base.
Fold in half lengthwise, then open and fold in half again horizontally. Open and fold again in half diagonally. Open and take the corners that now have triangles in them and push their folds in towards each other. Push entire card down and run over folds with a bone folder preferably.
Cut 6 squares out of selected Lawn Fawn double sided card stock at 3.5", slicing 4 of these into half diagonally to create triangles. Cut one 3.5" square out of Neenah's white card stock to emboss with brick pattern for front of card. With card closed, adhere bricks to front center of card. Open card up and adhere 4 selected triangles onto the same side as front of card into the center of their designated areas. Turn over and adhere triangles and squares into their areas. (Keeping in mind that any papers with words on them should be double checked for proper placement if you fold up the card.)
Stamp Spiced Sunshine Stamp (Dear Santa Set) stocking and color in with Copic Markers. Stamp stocking face and adhere to center front of card with double sided foam adhesive. Stamp sentiment on white card stock and cut out into banner shape on left side of sentiment. Using matching patterned paper, cut a banner out in same width as sentiment, but just a tiny bit longer. Adhere patterned paper banner to card using double sided foam adhesive. Attach sentiment to this banner with glue, offset a bit.
Stamp Spiced Sunshine Stamps Jolly Holly sentiment (Jolly Holly Set) and adhere to top left square on inside of opened card. Using Memento Dew Drop ink pads, create two leaves using Baboo Leaves, New Sprout, and Pear Tart by stamping the ink pads directly onto white paper. Stamp the two darker inks first as two leaves, then stamp lightest ink over the first two. Fussy cut. Color 3 clear Robin's Nest Dew Drops with Red Copic ink. When dry, adhere leaves and dew drops to center of top square where Jolly Holly sentiment was placed.
Using Memento ink, stamp Spiced Sunshine Stamps (Joy, Love, and Peace Set) tree sentiment in green, stamp the star on top in yellow, and the tree trunk in brown. Color the star in with Copic Markers let dry. Using a yellow Spica Glitter pen, color in the star again and let dry. Once dry, color over the glitter with a Sakura Clear Glaze pen to seal in the glitter. Fussy cut and add rhinestones. Adhere to bottom triangle of top right inside of card. Make sure to only place glue below the fold line.
Stamp Spiced Sunshine Stamps Sugar n' Spice sentiment (Gingerbread Kids Set) using Memento ink, punch out with fancy punch then trim with paper trimmer to fit upper left triangle on bottom left corner. Adhere in place. Stamp Spiced Sunshine Stamps Gingerbread Girl (Gingerbread Fun Set) on white card stock and again on patterned paper for her dress. Color girl with Copics E13, E15, E17 then stamp on face. Cut out dress portion on the patterned paper with the icing on her arms and below the icing at her legs. Color icing white using Sakura White Pen. Adhere dress to girl when white dries. Stamp hair on white card stock and fussy cut. Add rhinestone to base of pony tail and color with green Copic. Adhere to head of gingerbread girl. Stamp pocket, fussy cut and adhere to dress. Stamp scarf, color with Copics G40, G43, G46 then fussy cut, and adhere to girl (hiding the cuts of the paper pieced dress). Adhere girl to center of triangles on bottom left of inside of card, only applying glue to the bottom portion of the girl below the center fold of the triangles.
Carefully refold the finished card!
Entering into these challenges:
http://craftyhazelnutschristmaschallenge2.blogspot.com
http://christmascardchallenges.blogspot.com/2014/10/challenge-45-layer-it-up.html


Thank you for sharing your lovely crafting for my CHNC challenge extra for October - hope to see you again soon x
ReplyDeleteBeautiful project.
ReplyDeleteThanks for joining us at Crafty Hazelnut's Christmas Challenge Extra.
Helen x