Friday, October 28, 2016

Flip Top Fun Boxes


This is what the box looks like prior to folding and gluing. That picture is of a box 2"x3" in size when finished. The boxes that I'm going to show you, are 3.5"x4".

Step 1:
Start with 5.5"X11" sheet of cardstock

Step 2:
Score on long side at 3", 4", 8", and 9"

Step 3:
Turn paper and score on short side at 1" and 4.5"

Step 3:
Snip along score mark long side at 3", only 1" then stop at intersecting score line. Turn paper and snip one inch to next intersecting score line. Repeat on opposite side. Slightly trim flaps so they tuck nicely when folded.

Step 4:
Snip at 8" and 9" mark to intersecting score lines. Cut diagonally from 9" to 8" to make triangular flap. Repeat on opposite side.

Step 5:
Fold over at 8" then trim the corners that stick out to match the edge of the triangle flaps you just cut.

Step 6:
Fold bottom of box by tucking the odd looking flaps in and gluing outside of box.

Step 7:
Glue triangle flaps to create the top lid of the box.

To make a band for this size box, use a strip of matching paper/cardstock 1"x10and3/8". Score at 3and1/8", 4.25", 8and3/8", and at 9.5". Apply a 1-1.5" circle to the underside of bands where they come together. Now on top of band, glue a scallop, 1.5-2" in size. Embellish as you'd like.

Viola! Decorate as you wish!


Or, for Halloween, create a monster and fill with treats!


 Dimensions for the mini box are as follows:
4"x8.5" sheet of paper
Score on long side at 2", 3", 6", 7"
Score on short side at 1" and 3"


Tuesday, October 25, 2016

BOO to YOU


Halloween is right around the corner! Have you been Boo-ed yet? I created this fun BOO tag using stamp sets that I designed which are currently available at The Cutting Cafe.

Main Supplies:


This is a fun tag that is simple to create, even for a beginner. Here's a look at the front:


After creating this tag, I wish I did something a bit different. I should have stamped HAPPY HALLOWEEN at the bottom of the candy corn tag. I think I'll do that for my second one.

That's all for now! I hope I've inspired you to get your craft on! Toodles!


Thursday, January 28, 2016

For My Followers

From Blogger for my followers....

FYI for anyone using Blogger:
In 2011, we announced the retirement of Google Friend Connect for all non-Blogger sites. We made an exception for Blogger to give readers an easy way to follow blogs using a variety of accounts. Yet over time, we’ve seen that most people sign into Friend Connect with a Google Account. So, in an effort to streamline, in the next few weeks we’ll be making some changes that will eventually require readers to have a Google Account to sign into Friend Connect and follow blogs.
As part of this plan, starting the week of January 11, we’ll remove the ability for people with Twitter, Yahoo, Orkut or other OpenId providers to sign in to Google Friend Connect and follow blogs. At the same time, we’ll remove non-Google Account profiles so you may see a decrease in your blog follower count.
We encourage you to tell affected readers (perhaps via a blog post) that if they use a non-Google Account to follow your blog, they need to sign up for a Google Account, and re-follow your blog. With a Google Account, they’ll get blogs added to their Reading List, making it easier for them to see the latest posts and activity of the blogs they follow.
We know how important followers are to all bloggers, but we believe this change will improve the experience for both you and your readers.
Thank you,
Blogger support team

Sunday, January 17, 2016

Valentine's Day Inspiration


Do you need some inspiration for Valentine (or really any LOVE) card? Look no more! This video created by me for The Robin's Nest, is less than 2 minutes long and is sure to inspire you to get YOUR craft on! 

http://youtu.be/KDvWOHuoRXk

Wednesday, January 6, 2016

Blog Hop Crafting Station Club Winners

And the winners from the Sweet 16 Birthday Blog Hop for the Crafting Station Club Membership for 6 months are:
(Drumroll Please)

Melissa "Sunshine HoneyBee"
cghundley (Carla from Utah)
Gail
Petra
Mary
happyscrap
Maria Calderone

Every effort will be made to contact you and verify an email address where you can receive monthly emails full of crafty goodies. 

Congrats everyone!

Thursday, December 17, 2015

Sweet 16 Birthday Hop for Emily


Hi friends!! Welcome! Thank you for joining us as we celebrate Emily's recent Sweet 16th Birthday! We are thankful that you've joined us to celebrate this sixteenth birthday of a fun and loving young lady. She will be blessed by your participation, comments, and all of the wonderful designs.
You should be arriving from Shawnee's blog. If so, that's GREAT! If not, please check out the bottom of my blog post for the complete list of the blog line-up.

Here's my Birthday design:
I created a 4 Bar Pocket Card with a birthday bookmark.

What is a Birthday Blog Hop without candy? If you are a follower of The Crafty Scrap Yard, just leave a comment here on my blog, along with the other blogs in today's hop to be entered to win TWO sets of Cardz TV stamp sets! "Make A Wish" and "Girl Talk"...both sets will help you celebrate a birthday celebration for a girl in your life!

Remember...some of the other designers along the hop are also giving away blog candy too, so don't forget to visit everyone, read carefully and become a follower of all blogs, and leave some comment love! 

The Crafty Scrap Yard will use random.org to pick a winner and will announce the winner on Wednesday, Dec 23rd, 2015.

Here at Blue Moon Creation Crafting Station, I will be giving away blog candy to some lucky hoppers too! Seven lucky hoppers will win a 6 month Membership to the Crafting Station! What's that you ask? What does being a member get you? Monthly digital images, inspirational sketches, and more!!! The winner will be picked on Wednesday December 30th when I announce some BIG NEWS! All comments must be in by December 23rd, 2015 to be eligible to win the prize. Contest void where prohibited.
                                                                  
"Your next stop along the hop is at the crafty Ellen's blog."

Here's the line-up for "Emily's Surprise 16th Birthday" Blog Hop! If you get lost while hopping come back here to check the list and find your way again!
  1.  Beth
  2. Mary
  3. Shawnee
  4. YOU ARE HERE
  5. Ellen
  6. Janis
  7. Jennifer
  8. Rachelle
  9. Krystal
  10. Cathy
  11. Connie
  12. Maria
  13. Jessica D.
  14. Georgia
  15. Julie
  16. Barbara
  17. Jessica P

Monday, December 7, 2015

Sweet 16 Blog Hop Invitation

The Crafty Scrap Yard is hosting a blog hop on December 18th! Blog candy will be available! So MARK your CALENDARS for this special EVENT that YOU don't want to MISS!

Sunday, November 29, 2015

Robin's Nest Dew Drop Christmas Card

As many of you know, I love Dew Drops from The Robin's Nest. Well today, I'd like to inspire you to use these Dew Drops on YOUR cards!

Let's make a Christmas Card:
Supplies Needed
Card Base (Mine is 4 Bar size)
Red Cardstock cut at 3.25 x 4.75
White Cardstock cut at 3 X 4.5
The Robin's Nest Dew Drops in green (Grapes and Leaves is the collection that I pulled my greens out of, and it has a great green combo to choose from), 7 Red Metallic Dew Drops, & 2 Brown Dew Drops from their Sunflower collection
Spiced Sunshine Stamps (Background Splatter and Sentiment)
Tim Holtz Thinlits Alterations Dies Tree and Star
Lawn Fawn Paper & White Cardstock for tree and star
Copic Marker Y06 and Spica Yellow Glitter Pen for the star
Glue dots in chunky and medium size
Tombow Glue
Red Tulle

Directions:

1.Die Cuts
2. Gather Other Supplies
3. Stamp Card Base with sentiment then background splatter top corner, bottom opposite corner
and then stamp center
4. Cut tulle with jagged edges smaller than the length of your card (as shown)
use chunky size glue dots to adhere the tulle
gather in center in accordion style, then place onto the chunky glue dots
using medium glue dots, stick the layers together so they lie flat
5. Measure tree against tulle and snip tulle at base of tree but not all the way across...cut piece off to make room for trunk
6. Using Tombow Glue, adhere layers to card base.


7. Apply glue and Dew Drops to tree as shown
8. Using Spica Glitter Pen draw two small brown circles to make Dew Drop trunk SPARKLE
and adhere Sunflower Dew Drops with Tombow Glue
9. Using Copic Y06 color the star and then color over it with your yellow Spica Glitter Pen
cut tiny pieces of double sided foam adhesive to attach to card at top of tree

And VIOLA!

One BLINGED out fun Christmas Card with Dew Drop dimension thanks to The Robin's Nest!

*Tip: If you only have clear Dew Drops, no worries!!! You can COLOR them with your Copic Markers!

Thanks for stopping by! If you make one of these cards, please post it over on the Crafting Stations Facebook Page! Thanks!

Now go get YOUR craft on!

Saturday, October 24, 2015

Crafty Card Gallery FALL Blog Hop

Welcome to the Crafty Card Gallery Fall themed blog hop!


We have 9 very talented card makers who have each designed a FALL themed card.

If you’ve never done a HOP before, it’s a group of bloggers that have joined together for a special theme. You "hop" from blog to blog using the links in each post. 

Be sure to visit each of the blogs, and then comment on the posts, as well as follow their blogs.  Some of us bloggers are giving away prizes - so you want to be sure to comment in order to be eligible to win.  

You should have arrived from: Francine

If you didn’t, please go back to the start so you can do the entire hop: http://craftycardgallery.blogspot.com/

Helloooo Hoppers! I'm Thia! I created this fun Fall card using second generation stamping, along with a masking technique using my Lawn Fawn and Peachy Keen Stamps. The leaves and scarecrow are on one piece of paper. The crow I fussy cut and used double sided foam adhesive to add dimension. My son was watching me create the card (he's always a good listener when it comes to my card making :0) so, I mentioned it was missing something). He responded with glitter on the leaves, make them sparkle! Gotta love that kid, he was right, that's EXACTLY what I forgot! I am always putting glitter on and sealing it in with clear glaze pens! Can you see the glitter?

I'm a fan of Copic markers, so that's what I used to color the crow and his scarecrow friend. I also like to try fun techniques with my Copics so this time I cut up an old pair of jeans to give the overalls a jeans look. I did this by coloring his overalls and then putting some blender solution onto a patch of the cut up jeans. I held it on top of my image for a few seconds and Viola! Pretty neat, huh?

Here's a peek at the inside...

And the final card:

If you would like to be entered to win a Blue Moon Creation Crafting Station prize box (small flat rate box stuffed with crafty fun), be sure to follow my blog, leave me a comment here, like my Blue Moon Creation Crafting Station Facebook page, follow me on Twitter and on Pinterest. Doing all of those will get you the most entries. The winner will be notified on all media locations and will have 1 week to contact me to claim their prize. Contest ends on October 31, 2015 at 11:59 pm. Void where prohibited. Must be a resident of the USA for the prize box, if not a US resident, you will receive digital image downloads from Spiced Sunshine Digis.

Thanks for joining us in the hop!

Your next stop in the hop is: CARLA

Here’s the full list in case you get lost:


Kerin Sylvester   www.onecraftycorner.com


Shawnee Penkacik  http://www.sunshinythought.com


Saturday, October 10, 2015

Monster Cards Quick and Easy

Step 1: Colored Card Stock Base. Fold paper in half to desired size. 
Step 2: Diecut Banner As Teeth. Glue on.
Step 3: Google Eyes. Glue on 1, 2, or 3 eyes.
Step 4: White Cardstock Insert (measures half the size of the Cardstock base you used). Leave blank or add sentiment of Halloween, Birthday, Get Well, etc... Glue to inside of card.
Step 5: I said it was quick and easy, didn't I?

Sunday, September 20, 2015

Flutterby Butterfly Fun

Hi! I am so excited that folks are interested in my butterfly cards! I've been busy creating them, so I thought I'd share them with all of you, in hopes of inspiring you!
The butterflies are from Lawn Fawn and so are the flowers on the bottom two cards. The flowers on the top card are from a freebie in a magazine that I recently purchased. I'm having so much fun creating these coloring book style cards! Masking is so easy...once you get the hang of it! Your turn now...go get crafty!


Friday, September 18, 2015

2015 Division Winner at OC Fair


I just have to show you all my accomplishment over the summer! I won first place AND Division Winner! I can cross this off my bucket list! Next thing I'd like to accomplish is getting published in a big, well known magazine! I think I'll create other fun cards like this one! Have fun and keep crafting!

Saturday, August 29, 2015

Vintage Mermaids

A friend challenged me to create a vintage mermaid card. This fun shaker card was what I came up with. For those of you who know me, vintage is not my usual style. My friend loved the card. Phew!

Wednesday, November 26, 2014

Handmade Birthday Card Order

Hi everyone! Happy Thanksgiving to all of you! Today is like to share some birthday cards that I quickly crafted for my friend down the street. I'm thankful for her for many reasons, along with the fact that she hires me to make her greeting cards. I love that! So, here's what I came up with for her last night (using my Peachy Keen Stamps)...
I hope the recipients like them as much as she does! Thanks for stopping by!


Monday, October 6, 2014

WCMD 2014 Spiced Sunshine Stamps and Lawn Fawn Papers

Thia here to share with you a card I created for World Card Making Day 2014, using Lawn Fawn papers and Spiced Sunshine Stamps. This is a fun fold card, as it starts out as an 8 inch square but folds into a 4 inch card. I will include the instructions on how to create this card at the end of this post.
This is a picture of the opened card showing the front and back sides of the card. Let's take a look at the inside...
Here's a closer look at the individual sections...
Here's a look at the front when folded...

Here is a look at the card as it is folding...
Pretty fun card, right?
Want to know how to make one? Keep reading...

Materials
- Lawn Fawn Double Sided Patterned Card Stock
- Neenah's White Card Stock
- Memento Dew Drop Ink Pads
- Copic Markers and Spica Glitter Pens
- Sakura White and Glaze Pens
- Spiced Sunshine Stamps (www.SpicedSunshineStamps.com)
- Bricks Embossing Folder
- The Robin's Nest Dew Drops Clear
- Rhinestones
- Fiskars Paper Trimmer
- EK Success Punch
- Scotch Double Sided Foam Adhesive
- Tombo Glue

Instructions
Cut a 12x12" Lawn Fawn double printed card stock down to 8x8" for card base.
Fold in half lengthwise, then open and fold in half again horizontally. Open and fold again in half diagonally. Open and take the corners that now have triangles in them and push their folds in towards each other. Push entire card down and run over folds with a bone folder preferably.

Cut 6 squares out of selected Lawn Fawn double sided card stock at 3.5", slicing 4 of these into half diagonally to create triangles. Cut one 3.5" square out of Neenah's white card stock to emboss with brick pattern for front of card. With card closed, adhere bricks to front center of card. Open card up and adhere 4 selected triangles onto the same side as front of card into the center of their designated areas. Turn over and adhere triangles and squares into their areas. (Keeping in mind that any papers with words on them should be double checked for proper placement if you fold up the card.)

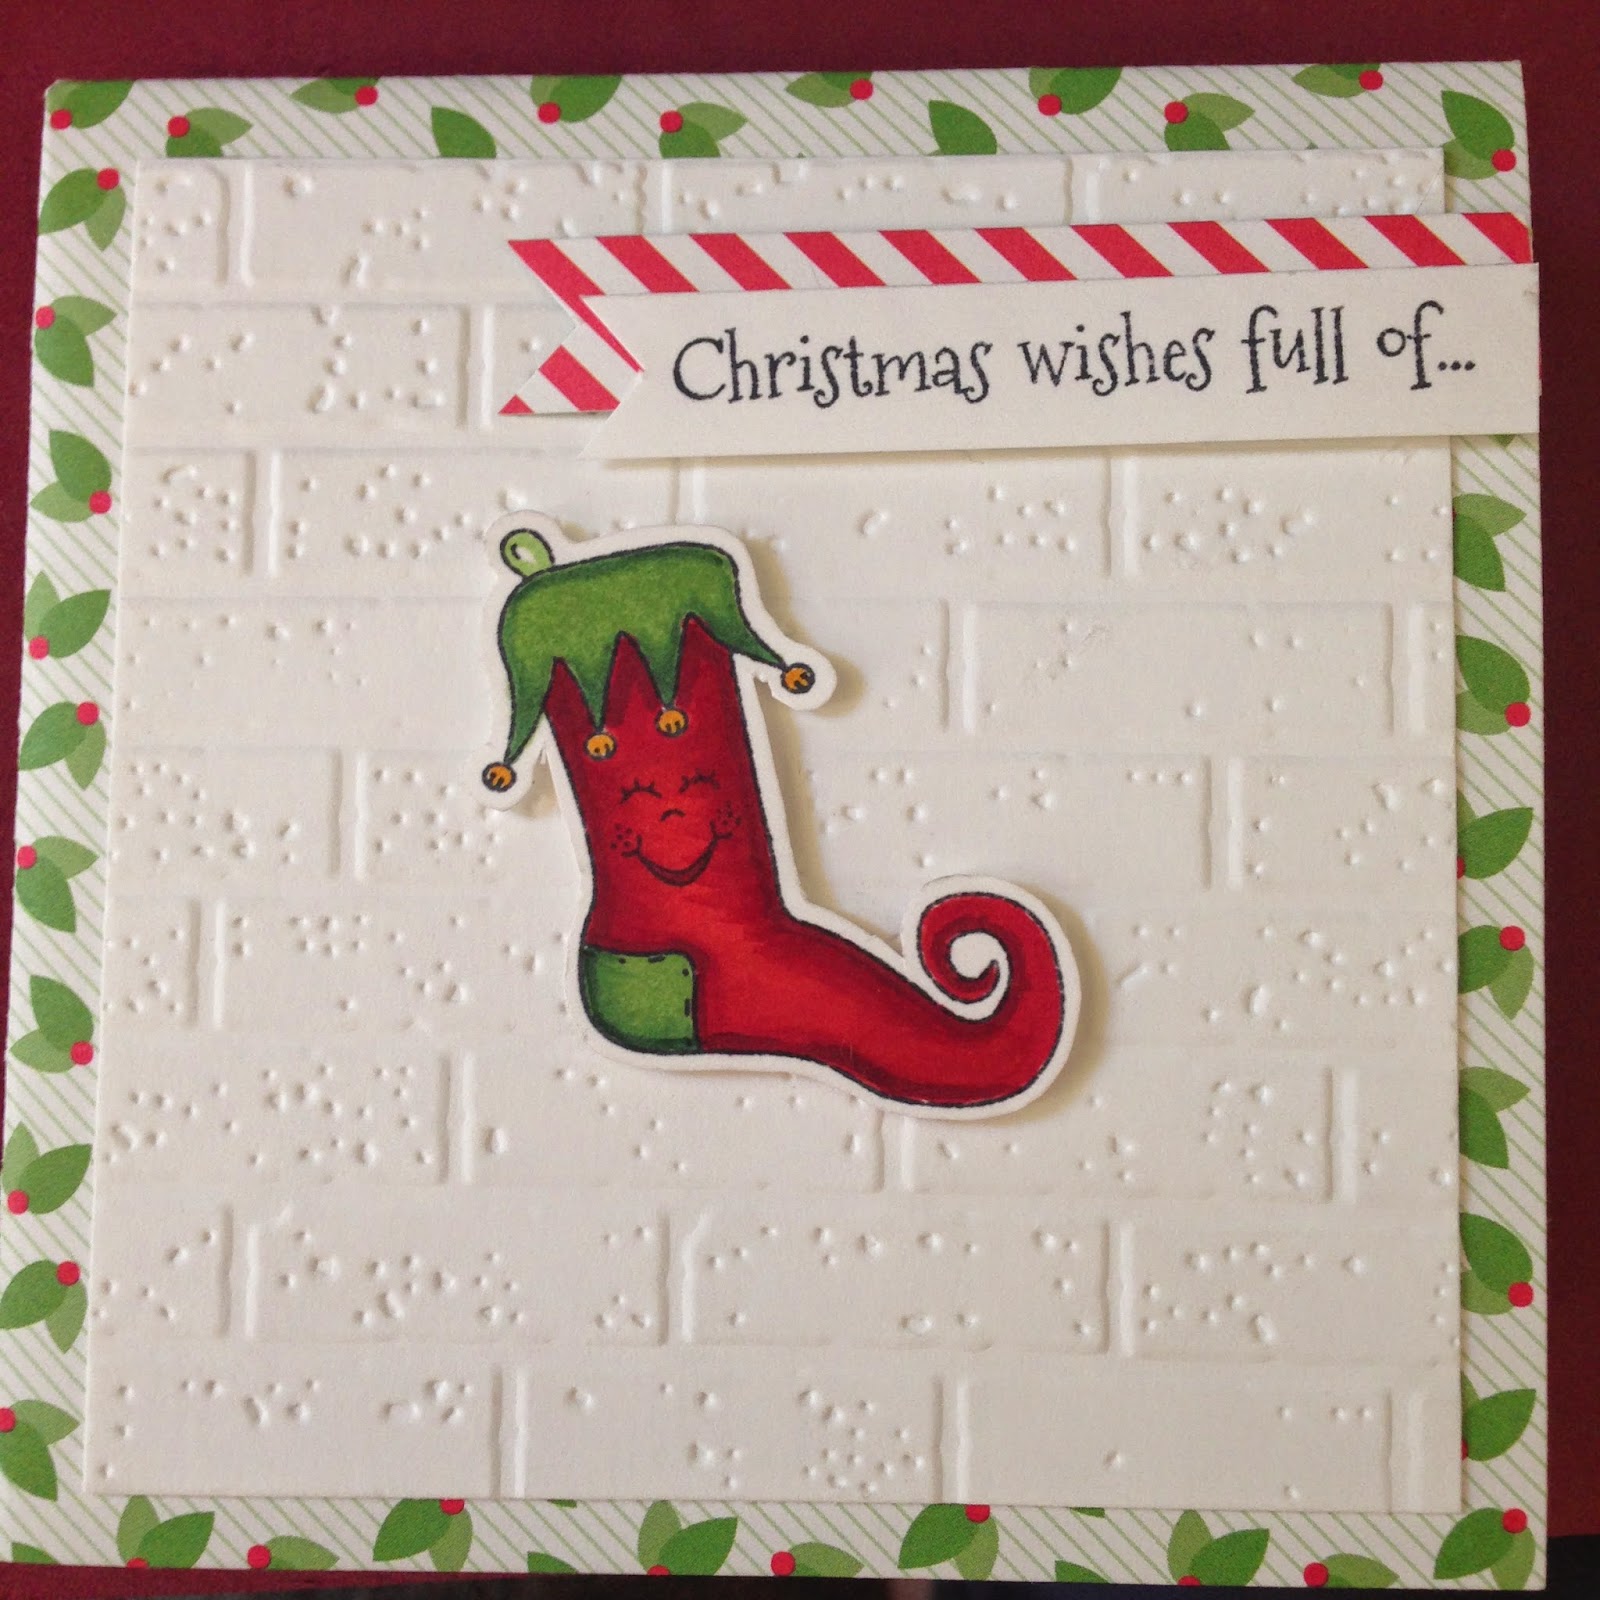
Stamp Spiced Sunshine Stamp (Dear Santa Set) stocking and color in with Copic Markers. Stamp stocking face and adhere to center front of card with double sided foam adhesive. Stamp sentiment on white card stock and cut out into banner shape on left side of sentiment. Using matching patterned paper, cut a banner out in same width as sentiment, but just a tiny bit longer. Adhere patterned paper banner to card using double sided foam adhesive. Attach sentiment to this banner with glue, offset a bit.

Stamp Spiced Sunshine Stamps Jolly Holly sentiment (Jolly Holly Set) and adhere to top left square on inside of opened card. Using Memento Dew Drop ink pads, create two leaves using Baboo Leaves, New Sprout, and Pear Tart by stamping the ink pads directly onto white paper. Stamp the two darker inks first as two leaves, then stamp lightest ink over the first two. Fussy cut. Color 3 clear Robin's Nest Dew Drops with Red Copic ink. When dry, adhere leaves and dew drops to center of top square where Jolly Holly sentiment was placed.

Using Memento ink, stamp Spiced Sunshine Stamps (Joy, Love, and Peace Set) tree sentiment in green, stamp the star on top in yellow, and the tree trunk in brown. Color the star in with Copic Markers let dry. Using a yellow Spica Glitter pen, color in the star again and let dry. Once dry, color over the glitter with a Sakura Clear Glaze pen to seal in the glitter. Fussy cut and add rhinestones. Adhere to bottom triangle of top right inside of card. Make sure to only place glue below the fold line.

Stamp Spiced Sunshine Stamps Sugar n' Spice sentiment (Gingerbread Kids Set) using Memento ink, punch out with fancy punch then trim with paper trimmer to fit upper left triangle on bottom left corner. Adhere in place. Stamp Spiced Sunshine Stamps Gingerbread Girl (Gingerbread Fun Set) on white card stock and again on patterned paper for her dress. Color girl with Copics E13, E15, E17 then stamp on face. Cut out dress portion on the patterned paper with the icing on her arms and below the icing at her legs. Color icing white using Sakura White Pen. Adhere dress to girl when white dries. Stamp hair on white card stock and fussy cut. Add rhinestone to base of pony tail and color with green Copic. Adhere to head of gingerbread girl. Stamp pocket, fussy cut and adhere to dress. Stamp scarf, color with Copics G40, G43, G46 then fussy cut, and adhere to girl (hiding the cuts of the paper pieced dress). Adhere girl to center of triangles on bottom left of inside of card, only applying glue to the bottom portion of the girl below the center fold of the triangles.

Carefully refold the finished card!


Entering into these challenges:
http://craftyhazelnutschristmaschallenge2.blogspot.com
http://christmascardchallenges.blogspot.com/2014/10/challenge-45-layer-it-up.html